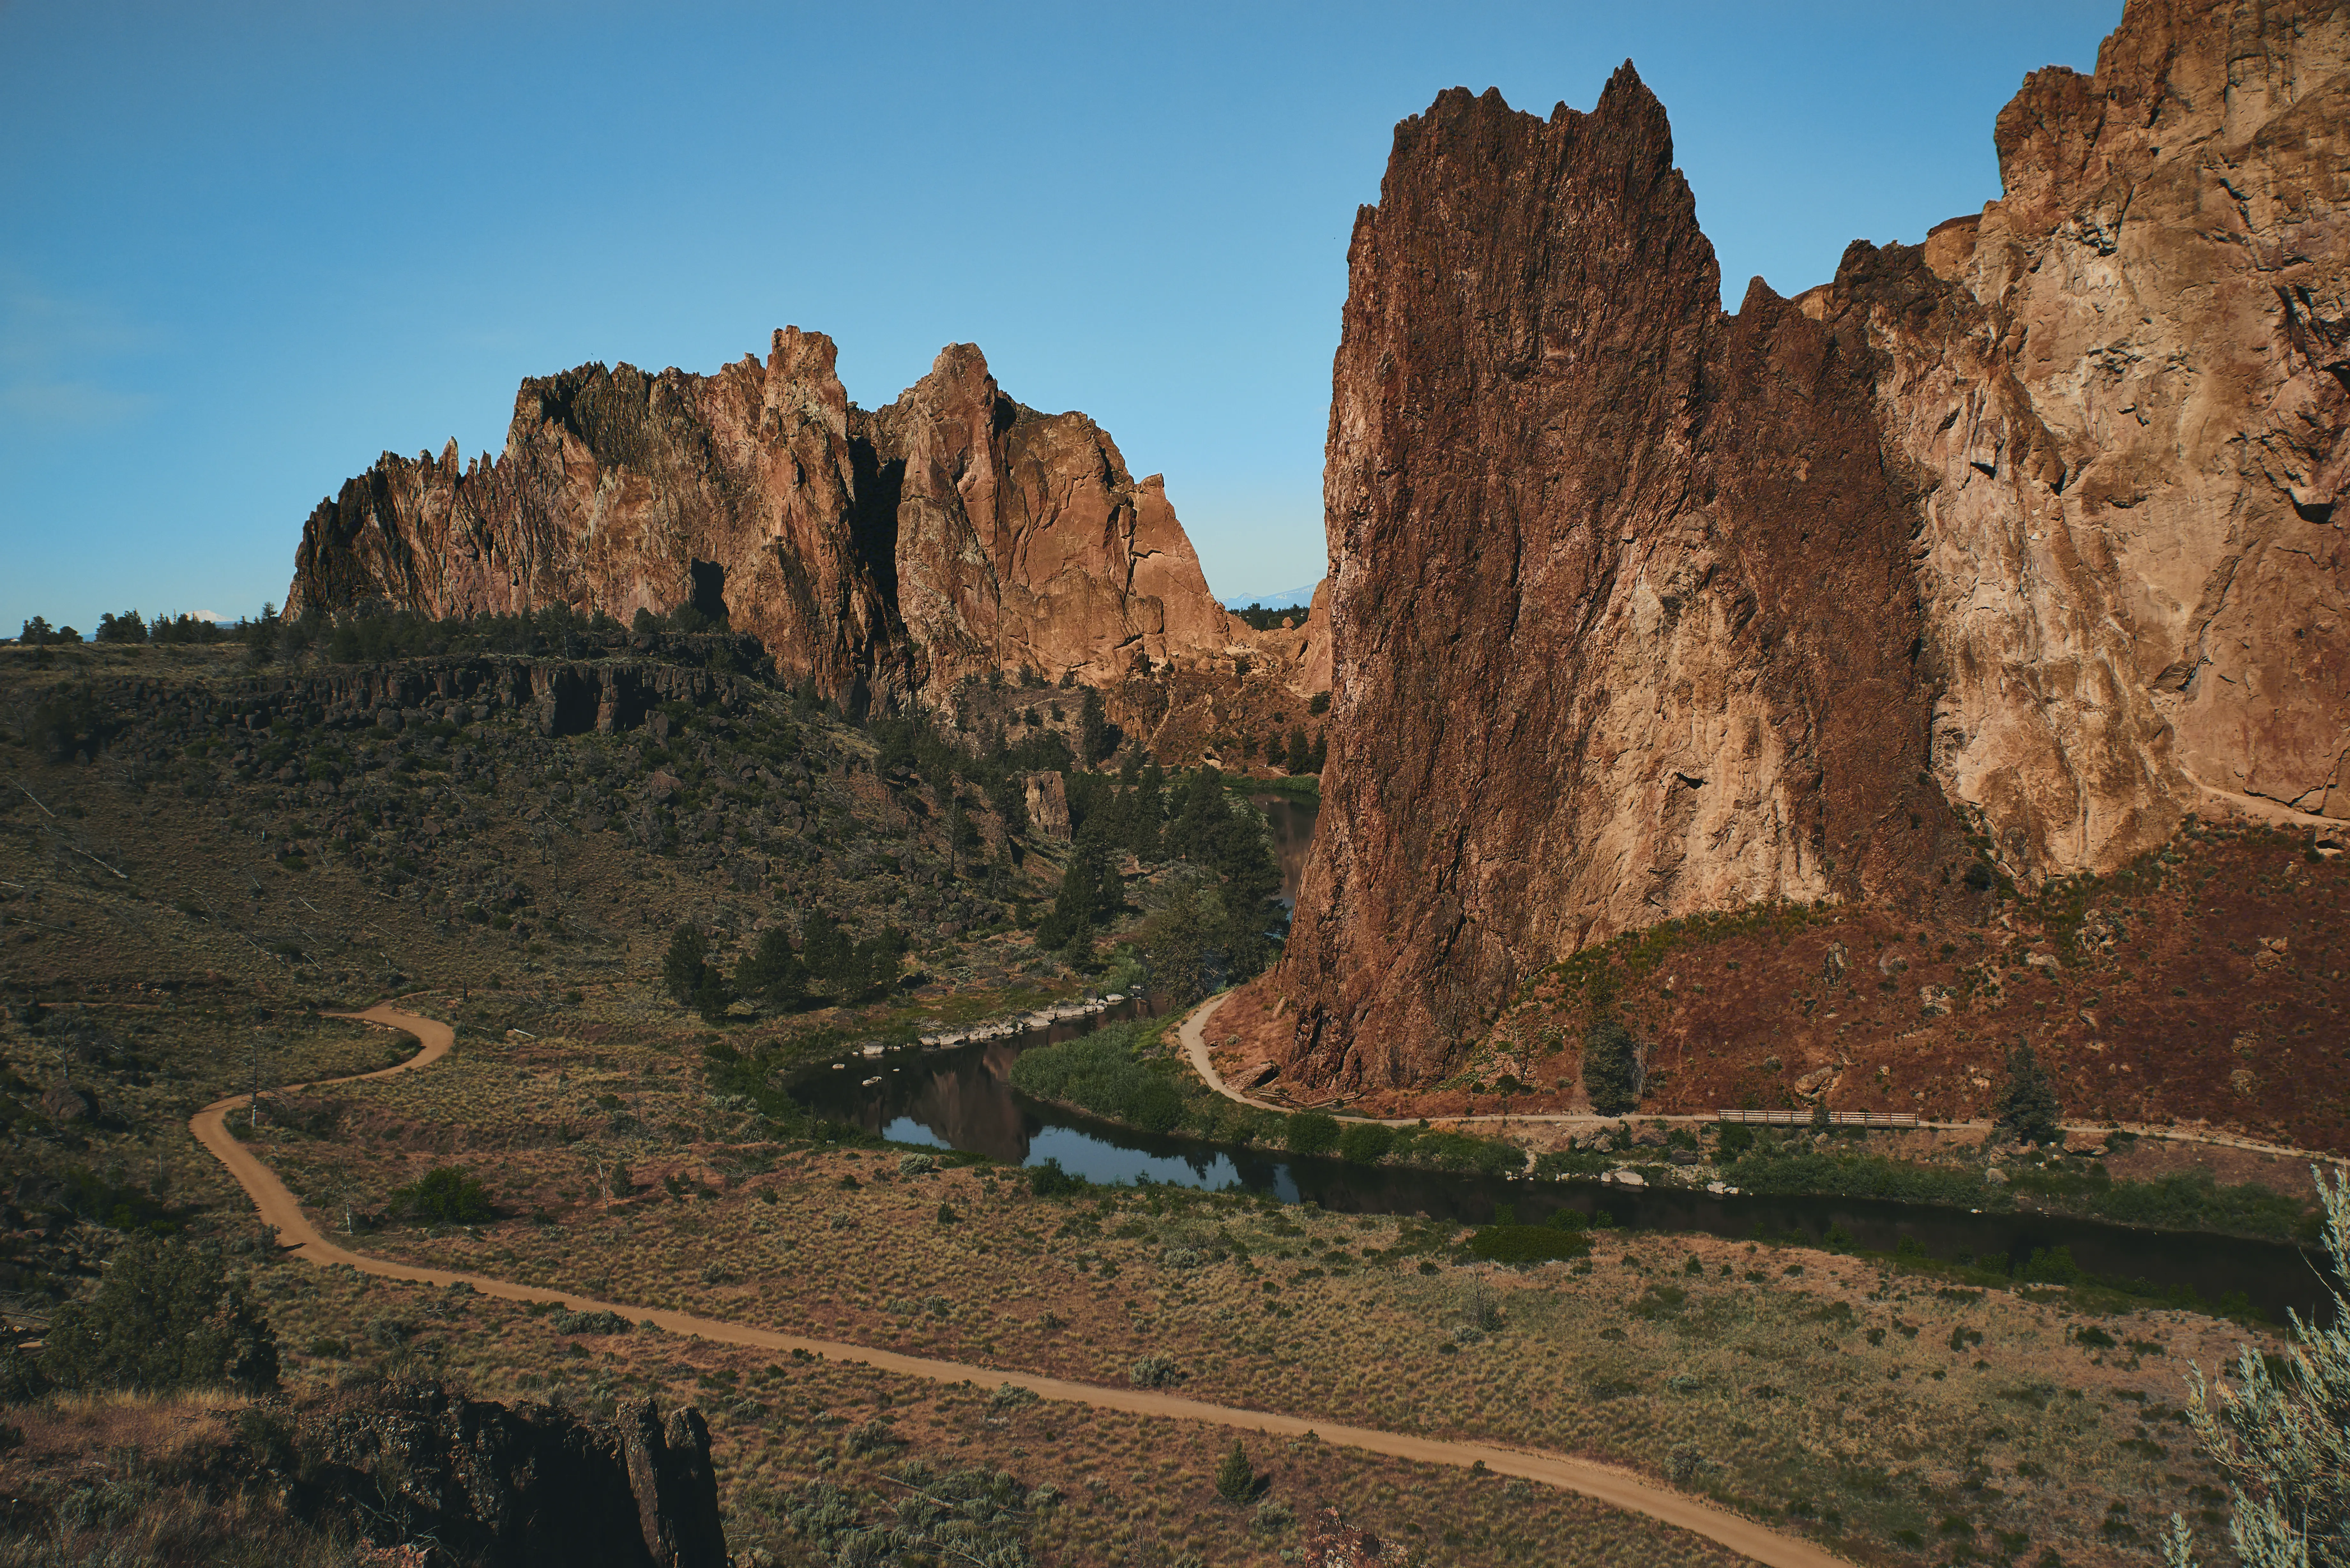
Finding our way hiking without a map can be a relaxing way to spend the afternoon or morning. Some of my best hikes are the ones I did for the first time. The same is true of coding in the Terminal. Some of my best discoveries are the ones I did for the first time.
As I like to create my photography for print I often export from RAW into the TIFF format. Using editors like CaptureOne, DXO Filmpack and Photoshop my files end up being large. While there are many paths you can take in the park as there are in coding I have eventually settled on an old fashioned well worn path for WebP conversions- the command line.

While various apps do a decent job of exporting to WebP I have to say I am perfectly fine with just using ImageMagick on the command line. (Pay attention to whether the file you are converting ends in (.tif) or (.tiff))
// Homebrew Installation

brew install imagemagick libheif

// For Single Files

magick input.tif output.webp

// For Multiple Files (macOS + linux)

for file in *.tif; do
    magick "$file" "${file%}.webp"
done

// For Multiple Files (windows)

for %f in (*.tiff) do magick convert "%f" "%~nf.webp"
Optimizing WebP with ImageMagick
When using WebP and ImageMagick together you can tweak all kinds of settings. Here are some practical tips to enhance your WebP photography workflow:
Lossy Compression
Use the -quality flag in ImageMagick to adjust the quality. I would recommend finding the balance after you initially create a WebP version, but it is a nice feature to have if you need to reduce quality further after convertion to WebP.
magick input.tif -quality 85 output.webpQuality Levels:
- 90-100: Near-lossless; best for detailed photography but larger files.
- 70-85: Ideal for most web images, offering good quality at reduced size.
- 50-70: Use for thumbnails or low-priority visuals.
Lossy Compression
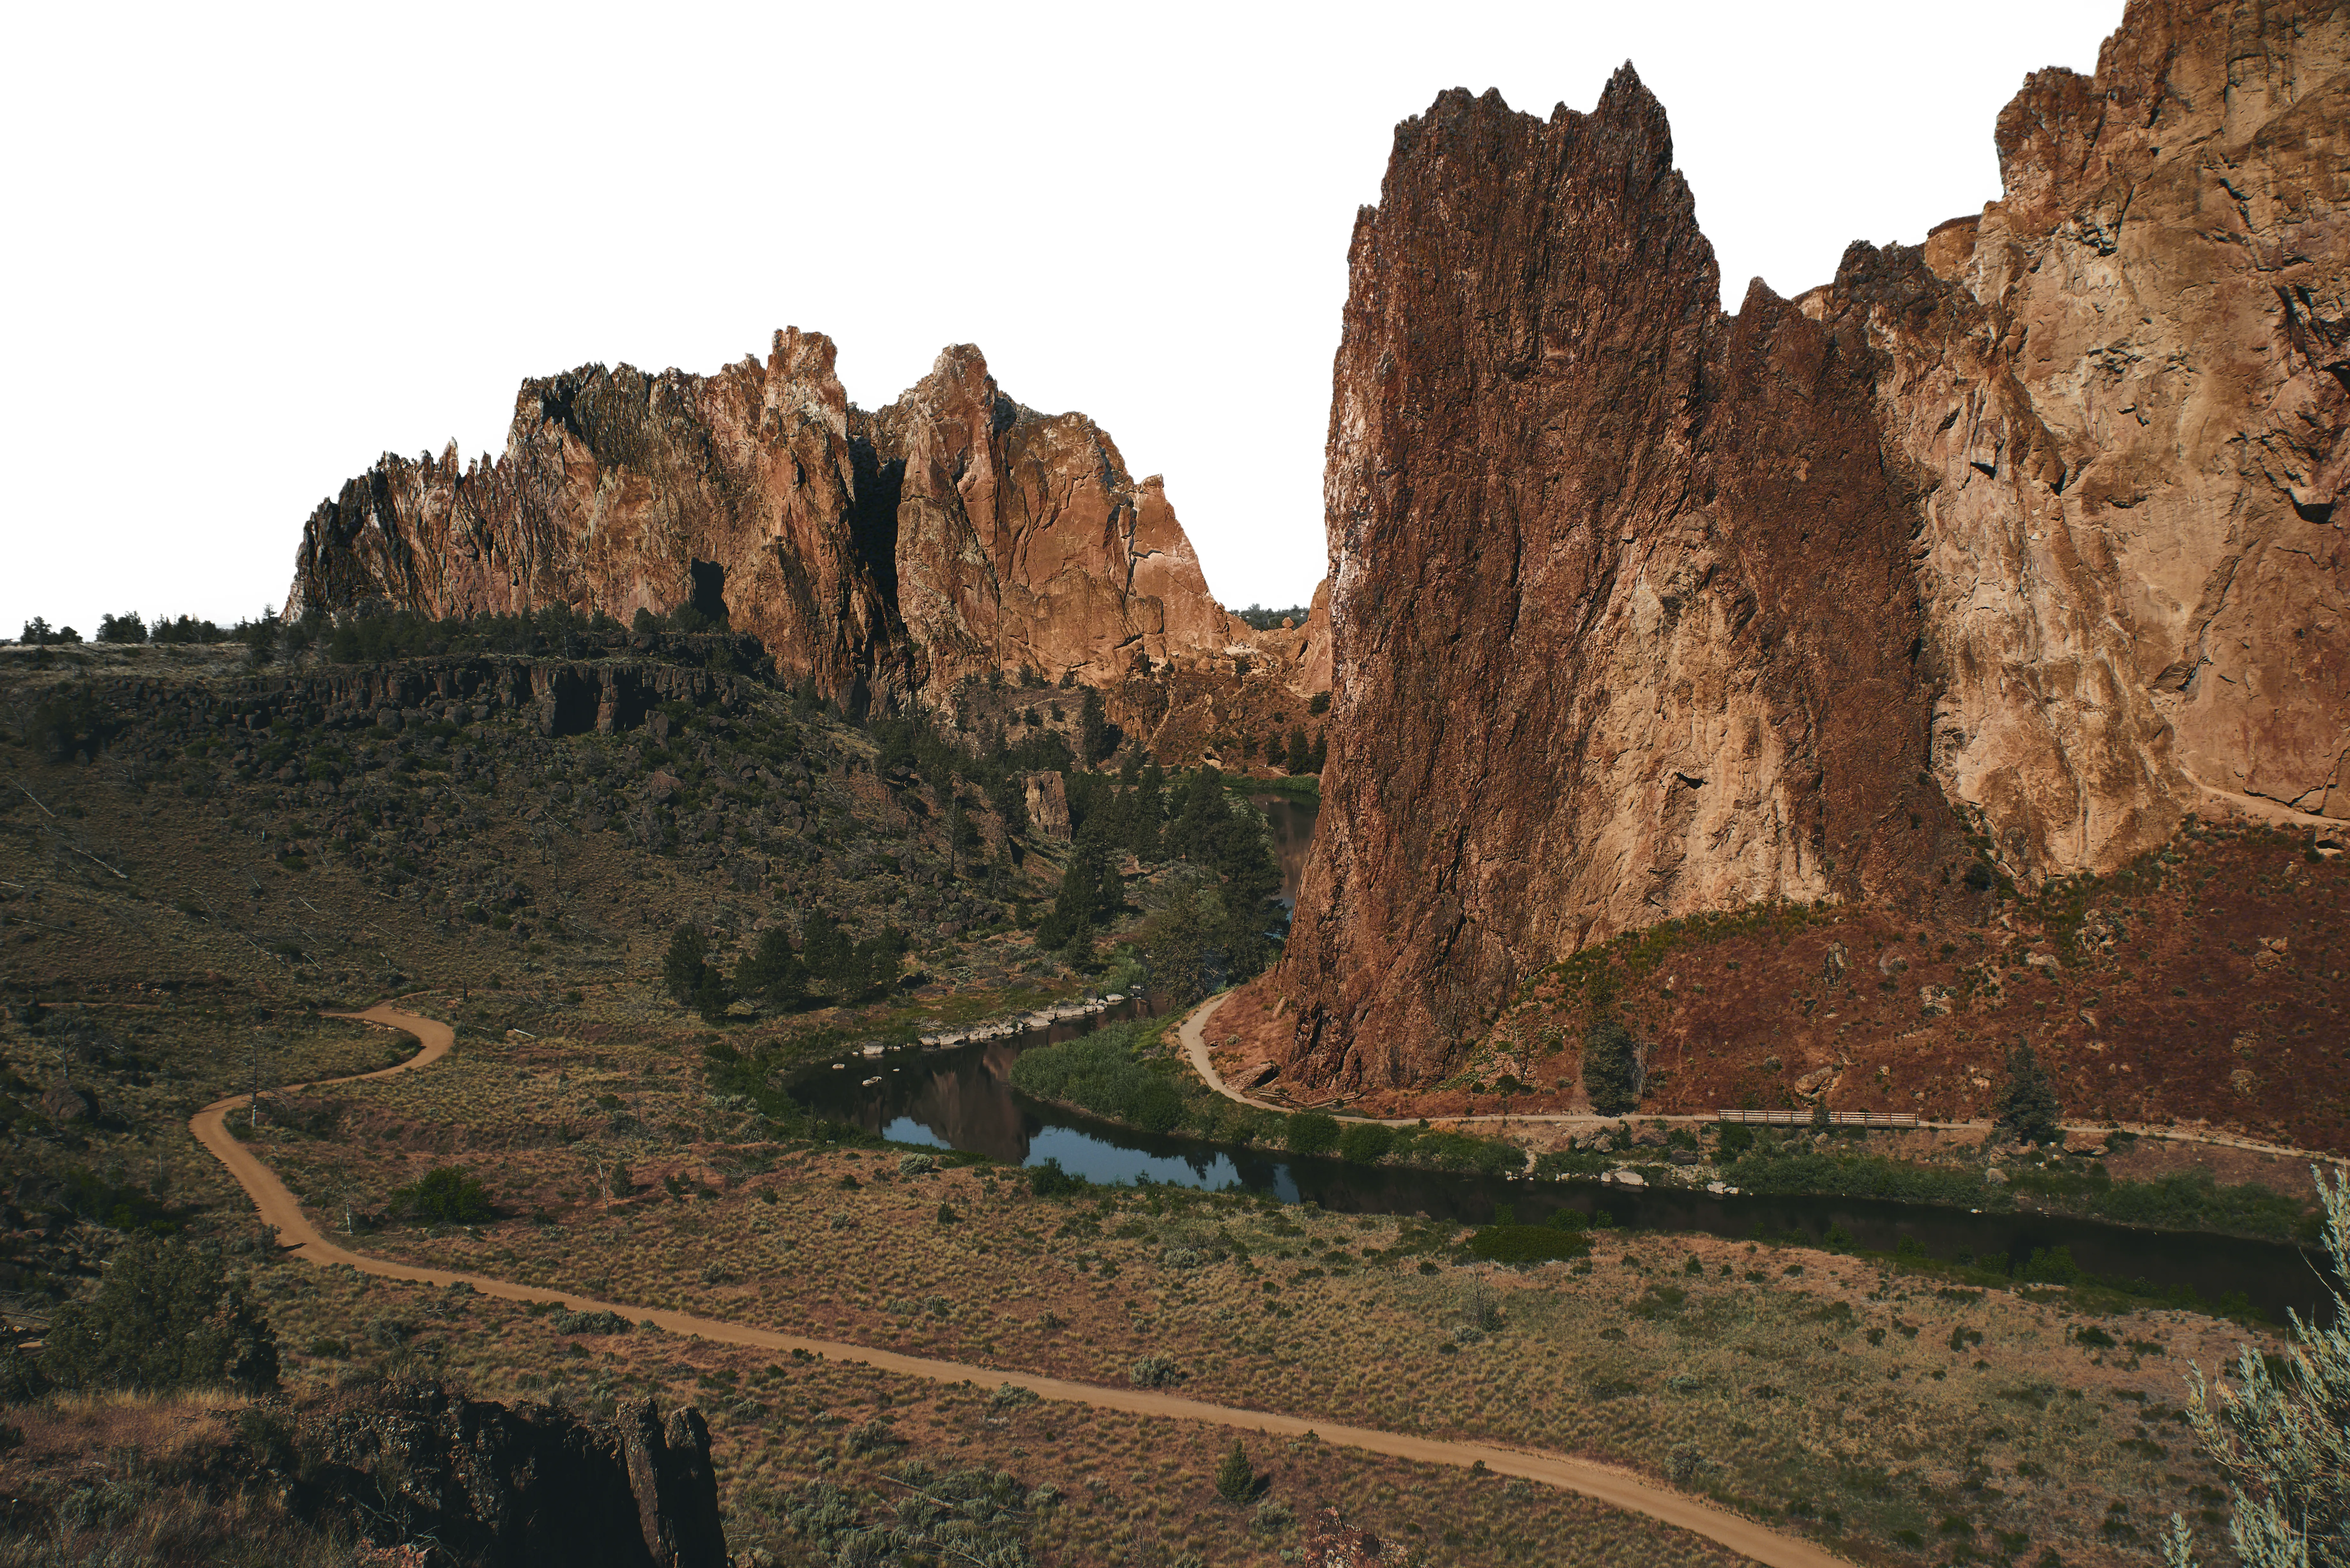
If your images include transparency, ImageMagick can ensure transparency is handled properly by WebP. In this case, I deleted the background sky in Photoshop.

The name of the original file was misery_ridge_transparency.tif and it is was converted to misery_ridge_transparency.webp in ImageMagick by specifying lossy compression to get rid of metadata not needed by creating that transparency:
magick misery_ridge_transparency.tif -quality 80 -define webp:method=6 misery_ridge_transparency.webp
The webp:method=6 setting in ImageMagick controls the effort level used during compression to achieve the smallest possible file size. The method value ranges from 0 (fastest, less compression) to 6 (slowest, best compression).
A higher value spends more time finding optimal compression but reduces the file size further. Lossy WebP can compress images with transparency effectively, but achieving a good balance between quality and size for transparent areas requires more effort. Using method=6 ensures that transparency is optimized without unnecessary artifacts.
Lossless Compression Side Note:
For images like logos, medical imagings, technical diagrams you would to use lossless compression to preserve all details. You do not want to do with this 200mb landscape tifs. However, this is how you would do it:
magick input.tif -define webp:lossless=true output.webpResizing with ImageMagick
Resiziing images to match their specific display dimensions on the website cand reduce bandwidth usage. Many style guides will specify specific height and width dimensions which you can plug into ImageMagick:
magick input.tif -resize 1200x800 output.webpTo resize just the height or the width of an image while maintaining the original aspect ratio, you can specify those dimensions in the -resize parameter in ImageMagick. For example:
// Height

magick input.tif -resize x800 output.webp

// Width

magick input.tif -resize 1200x output.webp
If you want the image’s height or width to fit to be shrunk to the layout (say no wider or taller than 800 pixels) but want to make sure the image is not enlarged to do so then add the > symbol:
// Fit Without Enlarging Height

magick input.tif -resize x800\> output.webp

// Fit Without Enlarging Width

magick input.tif -resize 800x\> output.webp
If you want to resize the height or width to a specific pixel value without preserving the aspect ratio, you can use -scale instead
// Enlarge Height Without Aspect Ratio

magick input.tif -scale x800 output.webp

// Enlarge Width Without Aspect Ratio

magick input.tif -scale 800x output.webp
For responsive designs with preset height and widths, ImageMagick allows you to create multiple sizes for your layout:
magick input.tif -resize 400x267 small.webp
magick input.tif -resize 800x533 medium.webp
magick input.tif -resize 1200x800 large.webp
Batch Processing in ImageMagick
Batch processing is one of ImageMagick’s strongest features, and it’s one of the reasons why I prefer it over GUIs, especially for large-scale projects.
You can resize, convert, and rename files in bulk with just a few lines of code, allowing for easy batch processing. For instance, here’s how you could process all .tif files in a folder to .webp format with a specific resize constraint:
// macOS + linux

for file in .tif; do magick "$file" -resize 1200x800 -quality 85 "${file%.}.webp"
done

// windows

for %f in (*.tif) do magick "%f" -resize 1200x800 -quality 85 "%~nf.webp"
This command would go through all .tif files in the directory, resize them to fit within 1200×800 pixels, and convert them into .webp files—all automatically.
